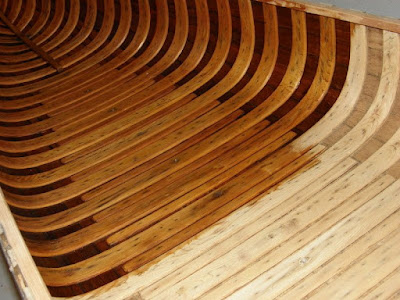
Stripping the old varnish turned out to be a more daunting task than I had originally envisioned. The chemical stripper that I used had a hard time breaking down the varnish. It took several coats of stripper and much scraping and rubbing to get down to the bare wood. With some experimenting, it was found that the most productive way to remove the varnish was with a heat gun and a scraper.
Most of the varnish was removed with the heat gun and scraper. Then the chemical stripper was used to remove the final bits from seams and tight spaces. The stripped area was then sanded and bleached. The bleach was used in hopes of lightening the dark stains in the wood around each clench nail. I don't believe the bleach had any effect on the stains. This was fine because the stains contribute to that natural patina we love so well.
After the interior was stripped and sanded, a few minor repairs had to be made before we could begin with the varnishing. Two of the floor boards had suffered from rot. Wood from the damaged areas was removed and the new cedar was spliced in. The punctured plank was repaired by removing the damaged area and a new piece was shaped and epoxied in its place using West Systems epoxy.
The first of three coats of Epifanes Gloss Clear Varnish brought out the rich colors of the cedar planking and ribs. The next couple of coats brought out the bright luster. The gunnels had been sanded earlier and were now varnished as well. The outwales would be removed for the canvassing and needed more varnish work later after the final assembly.


No comments:
Post a Comment