skip to main |
skip to sidebar
The oak seat frames were sanded before applying three coats of Epifanes Gloss Clear Varnish. After re-caning the seats, one final coat of varnish was applied.
 |
| Before |
 |
| After |
After the filler was dry, the sanded and varnished gunnels were reattached. The keel and the brass half oval stem band/keel band were also sanded and installed on a layer of Dolfinite Bedding Compound.
The hull was then lightly sanded and primered with Interluxe Pre-Kote Primer for One-Part Finishes. The primer was applied on a warm day and the brush strokes didn't flow out as well as hoped. I thought that the following coats of Interluxe Brightside Polyurethane paint would fill the imperfections in, but didn't. After three coats of Brightside paint, I decided to sand the hull down and smooth out the primer and start the painting process over again.
When the sanding was completed, some of the grey filler was showing through the white primer. In hind sight, I should have re-primered the grey areas because it took five coats of yellow paint to cover up the light and dark shadowing. I used almost three quarts of paint on this canoe and would have expected to use just one.
Before stretching the #10 Standard Mildew Resistant Canvas onto the canoe, it was turned over and lightly sanded. After the exterior of the hull planking was cleaned up, a generous coat of boiled linseed oil was applied to limit its ability to absorb water. Over the years, the hull planks developed many highs and lows and aren't as fair as they once were. The multitude of clench nails prohibited me from doing much fairing of the hull. The highs and lows of the hull will be another part of the canoe's patina.
Before stretching the canvas, we had to build two clamps that would hold each end of the folded canvas. These clamps were hung from the ceiling about 17 feet from each other. One of the clamps was connected to a stud in the wall with a chain. The opposite end was connected to a wall with a come-a-long.
Once the canvas was folded in half and suspended by the homemade clamps, the canoe was nestled down into it. Sand bags were placed into the canoe to weigh it down and prevent the canoe from squirting back out when the canvas was drawn tight by the come-a-long. Once everything was in place, the canvas was stretched tightly around the canoe longitudinally. Another set of brackets resembling large clothes pins were built to pull the canvas halves together at both stems.
Special canvas pliers were then used to stretch the canvas up to the gunwales where two copper tacks were used to hold the canvas taught. When the proper tension is achieved, a small fold of fabric forms above each tack.
At each end of the canoe, the canvas was cut so that each side could be folded over the stems. A small amount of bedding compound was applied to the stems before tacking one side of the canvas to it. A second light layer of bedding compound was applied before stretching and tacking the second side of the canvas over the first.
After the canvas was stretched and tacked in place, the traditional alkyd oil and silica-base filler was applied. filler protects and waterproofs the canvas. It is applied by hand rubbing several coats into the canvas. The filler can take four to six weeks to completely dry.
When we took on this project, I had envisioned doing a light but thorough sanding of the interior followed by two or three coats of varnish. After sanding a little, I realized that the original varnish was no longer in tact in the area around each of the approximately 1,000+ plank/rib clench nails. To assure lasting protection and integrity, it was decided that all of the old varnish would need to be removed.
Stripping the old varnish turned out to be a more daunting task than I had originally envisioned. The chemical stripper that I used had a hard time breaking down the varnish. It took several coats of stripper and much scraping and rubbing to get down to the bare wood. With some experimenting, it was found that the most productive way to remove the varnish was with a heat gun and a scraper.
Most of the varnish was removed with the heat gun and scraper. Then the chemical stripper was used to remove the final bits from seams and tight spaces. The stripped area was then sanded and bleached. The bleach was used in hopes of lightening the dark stains in the wood around each clench nail. I don't believe the bleach had any effect on the stains. This was fine because the stains contribute to that natural patina we love so well.
After the interior was stripped and sanded, a few minor repairs had to be made before we could begin with the varnishing. Two of the floor boards had suffered from rot. Wood from the damaged areas was removed and the new cedar was spliced in. The punctured plank was repaired by removing the damaged area and a new piece was shaped and epoxied in its place using West Systems epoxy.
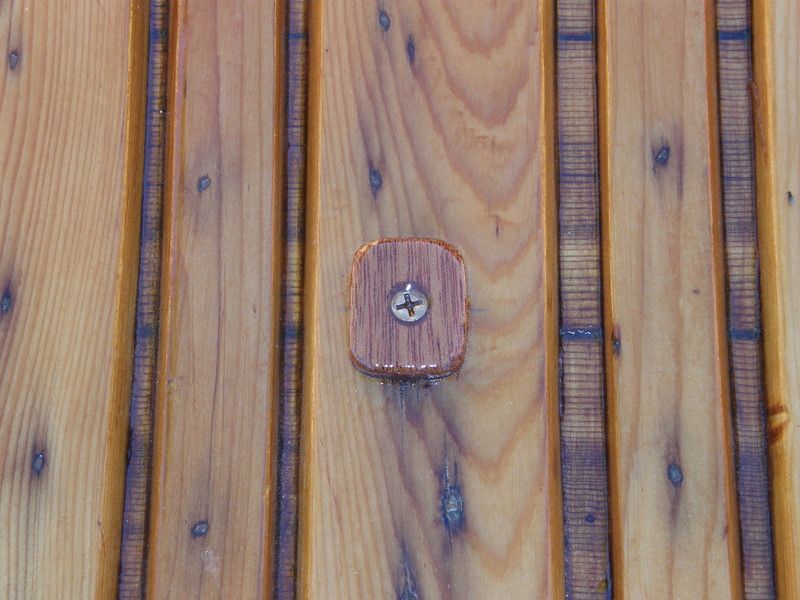
The keel bolts (screws) were very corroded and the wood around them had deteriorated over time. I removed the affected wood, filled the void with putty made of West Systems epoxy and wood flour. Mahogany plates were placed over each repaired keel bolt for cosmetic and structural reasons.
The first of three coats of Epifanes Gloss Clear Varnish brought out the rich colors of the cedar planking and ribs. The next couple of coats brought out the bright luster. The gunnels had been sanded earlier and were now varnished as well. The outwales would be removed for the canvassing and needed more varnish work later after the final assembly.